Mechanical keyboards are great for typing, gaming, and productivity, but they can also be a way to express your personality and style.
One of the best things about mechanical keyboards is that you can customize them with different keycaps and switches to suit your preferences and aesthetics.
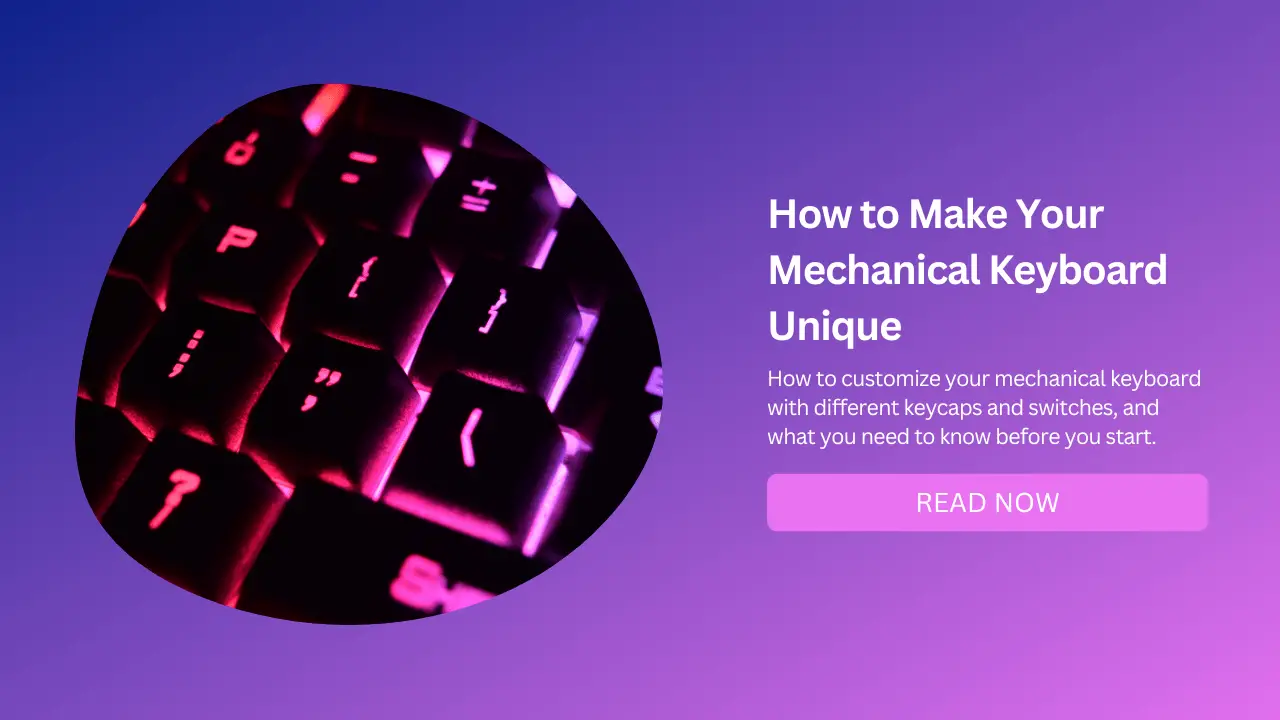
In this blog post, we will show you how to customize your mechanical keyboard with different keycaps and switches, and what you need to know before you start.
What are Keycaps and Switches?
Keycaps are the plastic covers that go on top of the switches, which are the mechanical components that register your keystrokes.
Keycaps come in various shapes, sizes, colors, and materials, and they can have different legends (the symbols or letters printed on them) or be blank.
Switches come in different types, such as linear, tactile, or clicky, and they have different characteristics, such as actuation force, travel distance, and sound level.
Why Customize Your Mechanical Keyboard?
Customizing your mechanical keyboard can have several benefits, such as:
Improving your typing comfort and accuracy by choosing keycaps and switches that match your typing style and preferences.
Enhancing your gaming performance by choosing keycaps and switches that offer faster response, better feedback, and more durability.
Expressing your personality and style by choosing keycaps and switches that match your theme, color scheme, or mood.
Having fun and learning new skills by experimenting with different combinations and options.
Saving money and reducing waste by reusing or upgrading your existing keyboard instead of buying a new one.
How to Customize Your Mechanical Keyboard?
To customize your mechanical keyboard, you will need some tools and accessories, such as:
Keycap Puller and a Switch Puller Remove the old keycaps and switch from your keyboard.
Soldering Iron and Solder (not required for hot-swap keyboards) to desolder the old switches and solder the new ones on the PCB (printed circuit board).
Screwdriver to open the keyboard case if needed.
USB Cable to connect your keyboard to your computer.
Optional But Helpful Extras: stabilizers, switch lubes, switch films, sound-dampening foam or pads, etc.
The Steps to Customize Your Mechanical Keyboard Are:
Decide What Size and Layout of the Keyboard You Want
There are many sizes and layouts of mechanical keyboards, such as full-sized, tenkeyless, 75%, 65%, 60%, etc.
You can check out our keyboard size guide for more details. You should also consider what features you want in your keyboard, such as backlighting, programmability, wireless connectivity, etc.
Choose Your Keycaps
Keycaps come in different profiles (the shape and height of the keycap), materials (such as ABS or PBT), colors, and legends. You can also choose between standard or non-standard keycap sets, depending on the compatibility with your keyboard layout.
You can find many keycaps sets online from various vendors or join group buys for exclusive designs.
Choose Your Switches
Switches come in different types (such as linear, tactile, or clicky), brands (such as Cherry MX, Gateron, Kailh, etc.), and variants (such as silent, speed, low-profile, etc.).
You can also choose between pre-lubed or unlubed switches, depending on whether you want to lube them yourself or not. You can find many switches online from various vendors or join group buys for exclusive models.
Test your PCB
Before proceeding, you should first make sure your PCB works as intended. You can use software like VIA or QMK Toolbox to test each switch position on the PCB by connecting it to your computer with a USB cable.
If any switch position does not register a keystroke, you may have a faulty PCB or a loose connection.
Assemble Your Stabilizers
Stabilizers are the plastic parts that stabilize the larger keys on your keyboard, such as the spacebar, enter, shift, etc. They consist of a wire that clips into a housing that mounts onto the PCB.
You should lube your stabilizers with a semi-thick dielectric grease like Permatex to reduce rattle and improve smoothness. You can also use stabilizer pads or cloth band-aids to dampen the sound further.
You can check out this video for a detailed guide on how to lube stabilizers.
Install Your Switches
If you have a hot-swap keyboard, you can simply insert your switches into the sockets on the PCB without soldering.
Make sure they are aligned correctly and fully seated.
If you have a soldered keyboard, you will need to solder each switch onto the PCB with a soldering iron and solder.
Make sure you don’t overheat or damage the PCB or the switch pins.
Install Your Keycaps
Use a keycap puller to remove the old keycaps from your switches and replace them with new ones. Make sure they are aligned correctly and fully seated. You can also use a switch puller to adjust the switch position if needed.
Enjoy Your Customized Mechanical Keyboard
Plug in your keyboard to your computer with a USB cable and test it out. You can also use software like VIA or QMK Toolbox to program your keyboard with custom macros or lighting effects.
Conclusion
Customizing your mechanical keyboard is a fun and rewarding way to make it unique and suited to your needs.
With some basic tools and accessories, you can change the keycaps and switches of your keyboard to improve its look, feel, and performance.
We hope this blog post has given you some useful tips and inspiration on how to customize your mechanical keyboard with different keycaps and switches. If you have any questions or comments about this topic, feel free to leave them below.