Table of Contents
- Understanding Default Controller Polling Rates: Wired vs. Bluetooth
- Critical Prep: Handling Driver Signature Enforcement Safely
- Step-by-Step Guide: Installing the hidusbf Service (LordOfMice)
- Stability Analysis: 1000Hz vs. 8000Hz for Competitive Gaming
- Verification: Using XInputTest to Confirm Input Lag Reduction
Stop letting hardware hold you back.
If you want to dominate your gaming circle, slashing controller input lag on PC is your first move.
Every millisecond counts when you’re aiming for the top of the leaderboard.
This guide walks you through the safe way to overclock your controller using the hidusbf driver.
We will optimize your polling rate for instant responsiveness so you can test your improved skills on Joltfly and leave the competition in the dust.
Key Takeaways
- Overclock your controller’s polling rate to 1000Hz or higher to drastically reduce input lag.
- Use the hidusbf (LordOfMice) driver to bypass default Windows limitations safely.
- Wired connections offer superior stability and lower latency compared to Bluetooth.
- Verify your new ultra-fast response times using XInputTest and Joltfly tools.
Understanding Default Controller Polling Rates: Wired vs. Bluetooth
Ready to dial in your controller and dominate your gaming circle?
Understanding controller polling rates is your first step to crushing input lag.
This metric tells you how often your controller communicates with your PC.
A higher polling rate means more frequent updates.
This translates to quicker reactions and less input lag.
It’s crucial for competitive gaming where every millisecond counts.
Wired Controllers: Raw Speed and Stability
Wired controllers often offer the best baseline performance. They connect directly via USB, bypassing the complexities of wireless signals.
Most standard wired controllers on PC default to a 125Hz polling rate.
This means your PC gets an update every 8 milliseconds.
For many gamers, this is acceptable, but it’s far from optimal.
The beauty of wired connections is their stability.
You avoid wireless interference and signal drops, ensuring consistent data flow.
This makes them a solid choice for consistent, low-latency play.
Bluetooth Controllers: Convenience vs. Latency
Bluetooth offers unmatched convenience, but it often comes at a performance cost.
Typical Bluetooth controllers also tend to operate around a 125Hz polling rate, just like wired.
However, Bluetooth adds an additional layer of processing and potential interference.
This can introduce extra latency, making your inputs feel less responsive.
Factors like distance from your PC, obstacles, and other wireless devices can impact Bluetooth performance.
While modern Bluetooth standards have improved, wired often maintains an edge for pure speed.

Comparing Polling Intervals: Wired vs. Bluetooth
Let’s break down the typical polling intervals you can expect. Remember, lower is always better for competitive gaming.
Standard USB connections provide a more direct data path. Bluetooth, while convenient, introduces more variables that can add milliseconds.
| Connection Type | Typical Default Polling Rate | Polling Interval (Latency) |
|---|---|---|
| Wired (Default USB) | 125Hz | 8ms |
| Bluetooth (Typical) | 125Hz + Wireless Overhead | 10-12ms (estimated) |
A bar chart comparing default controller polling intervals: Wired (Default 125Hz) at 8ms and Bluetooth (Typical) at 11ms.
Why This Matters for Your Game
Even a few extra milliseconds of input lag can be the difference between landing a headshot and missing your target. In fast-paced FPS or fighting games, precision is everything.
Understanding these defaults helps you identify your starting point.
It’s the baseline before you dive into optimization.
Knowing your hardware’s limitations is power.
Are you ready to transcend these default limitations?
The next step is to explore how controller overclocking can drastically improve these numbers.
Get ready to push your setup to its competitive peak.
In Short
- Higher controller polling rates reduce input lag, which is critical for competitive gaming.
- Wired controllers generally offer superior stability and lower, more consistent latency (typically 8ms) due to direct USB connections.
- Bluetooth controllers provide convenience but often introduce additional latency and potential interference, despite similar default polling rates as wired options.
Critical Prep: Handling Driver Signature Enforcement Safely
Ready to push your controller’s limits for that ultimate edge? Overclocking your controller on PC is a game-changer for input lag.
However, before diving deep, you need to navigate Windows’ security features. One critical step is handling Driver Signature Enforcement.
Why Disable Driver Signature Enforcement?
Windows prioritizes your system’s stability and security. It demands that all drivers installed have a valid digital signature.
This signature confirms the driver’s authenticity and ensures it hasn’t been tampered with. It’s usually a good thing.
But when you’re looking to overclock your controller, you often need to install custom or modified drivers. These lack official signatures.
Without temporarily disabling Driver Signature Enforcement, Windows will block these essential performance-boosting drivers.
This step is crucial for unlocking lower input lag and dominating your gaming circle.
How to Temporarily Disable Driver Signature Enforcement
Follow these precise steps to disable the enforcement safely. Remember, this is a temporary measure for installing specific drivers.
Access Advanced Startup:
- Go to “Start” > “Settings” > “Update & Security” > “Recovery.”
- Under “Advanced startup,” click “Restart now.” Your PC will restart into a special menu.
Navigate to Startup Settings:
- After restarting, select “Troubleshoot” > “Advanced options” > “Startup Settings.”
- Click “Restart” again.
Disable Driver Signature Enforcement:
- Your PC will restart one more time, showing a list of startup options.
- Press “7” or “F7” on your keyboard. This selects “Disable driver signature enforcement.”
Install Your Drivers:
- Your Windows will now boot with driver signature enforcement temporarily disabled.
- You can now safely install your unsigned controller overclocking drivers.
Re-enable Enforcement (Recommended):
- Once your drivers are installed and working, simply restart your PC normally.
- Windows automatically re-enables driver signature enforcement on the next regular boot. This restores your system’s security.
Stay Vigilant, Game Hard
Disabling this feature is powerful, but use it wisely. Only install drivers from trusted sources to avoid system issues.
Once your custom drivers are in, you’ll feel the difference. Your controller will respond faster than ever.
Ready to test that newfound responsiveness? Head over to Joltfly’s Device Tests to measure your new edge!
In Short
- Temporarily disabling Windows’ Driver Signature Enforcement is necessary to install unsigned custom drivers for controller overclocking and reduced input lag.
- The process involves specific steps through Advanced Startup options, and Driver Signature Enforcement automatically re-enables after a normal PC restart.
- It is crucial to only install custom drivers from trusted sources to maintain system security while enforcement is temporarily disabled.
Step-by-Step Guide: Installing the hidusbf Service (LordOfMice)
Ready to demolish controller input lag and gain a definitive edge? The `hidusbf` service, often called LordOfMice’s driver, is your next power-up.
This driver is a game-changer.
It allows you to overclock your controller’s polling rate on PC.
Think of it like boosting your monitor’s refresh rate or your mouse’s DPI.
Higher polling rates mean your controller reports its inputs to your PC more frequently.
This drastically reduces the time between your button press and the action on screen.
You’ll experience snappier aim, faster reactions, and a truly responsive feel.
It’s how the pros shave off crucial milliseconds to dominate their gaming circle.
Before You Begin: Essential Preparations
Before diving into the installation, ensure you have these prerequisites covered.
Skipping these steps can lead to issues or prevent the overclock from working.
- Disable Driver Signature Enforcement: Windows often blocks unsigned drivers. You’ll need to temporarily disable this feature.
- Download the hidusbf Package: Grab the latest version from its official GitHub repository. Look for the `hidusbf.zip` file.
- Backup Your System (Optional but Recommended): Always wise before making system-level changes. Create a restore point.
- Identify Your Controller: Know which controller you are overclocking. This guide focuses on standard USB controllers.
Step-by-Step Installation Guide
Follow these precise steps to install and configure the `hidusbf` service. This will unlock your controller’s true potential.
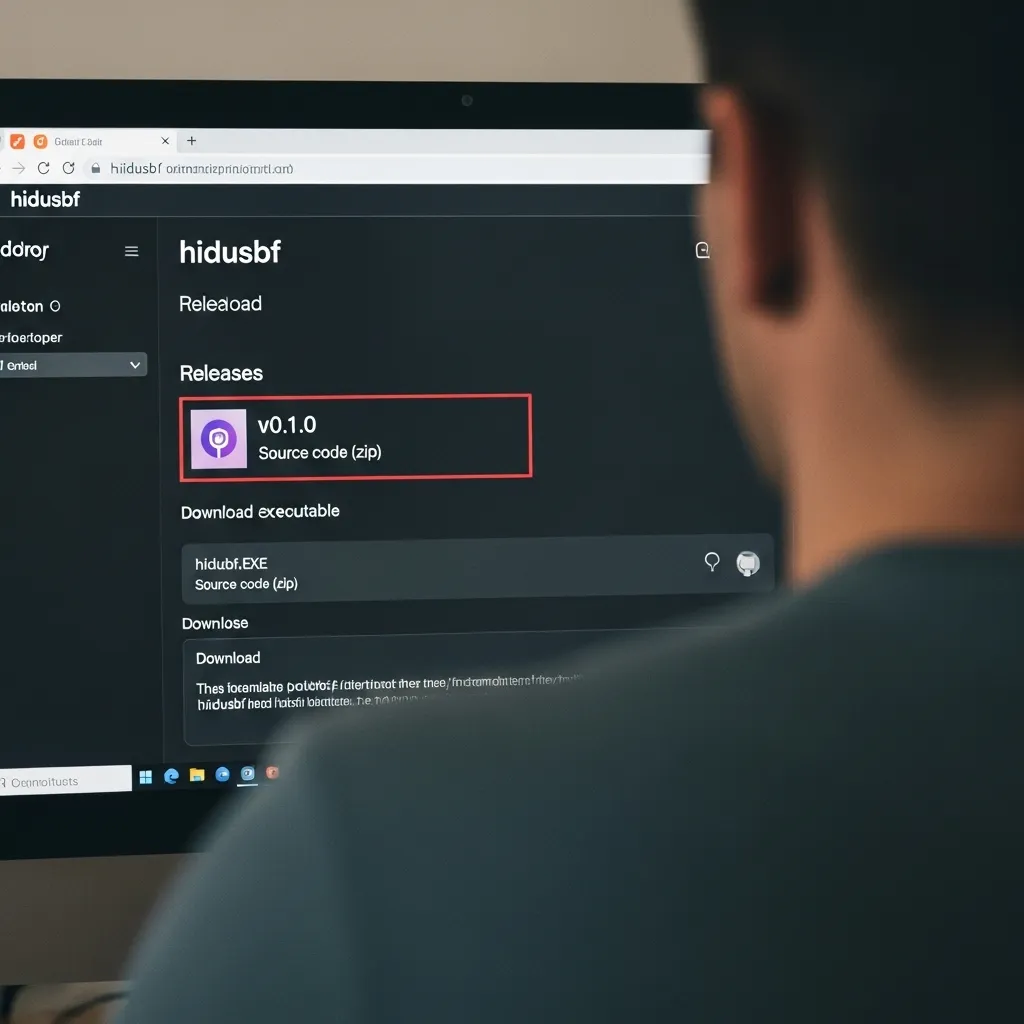
Step 1: Download the hidusbf Driver
- Navigate to the official hidusbf GitHub releases page.
- Download the `hidusbf.zip` file from the latest stable release.
- Extract the contents of the ZIP file to a memorable location. A new folder on your desktop works well.
Step 2: Disable Driver Signature Enforcement
This critical step allows Windows to install the unsigned `hidusbf` driver. Do not skip this.
- Open the Start Menu, then click the Power icon.
- Hold down the Shift key and click “Restart”. This will boot into the Advanced Startup Options.
- Select “Troubleshoot,” then “Advanced options,” and finally “Startup Settings.”
- Click “Restart” again.
- When the Startup Settings menu appears, press `7` or `F7` to “Disable driver signature enforcement.”
- Your PC will now boot into Windows with enforcement temporarily disabled.
Step 3: Install the Filter Driver
Now, let’s get the core driver installed for your controller.
- Plug in your controller to your PC’s USB port.
- Open the `hidusbf` folder you extracted earlier.
- Navigate to the `Driver` subfolder.
- Right-click on `setup.exe` and select “Run as administrator.”
- In the `hidusbf` application, ensure your controller is listed. It usually appears under “USB devices.”
- Check the box next to your controller. Be careful not to select your keyboard or mouse unless you intend to overclock them.
- Set the “Selected Rate” to your desired polling rate, typically `1000` (1000Hz) or higher if supported.
- Click “Install Service.” You might see a Windows Security prompt. Select “Install this driver software anyway.”
- Wait for the installation to complete.
Step 4: Verify the Installation
Confirm the driver is working as intended and your polling rate is elevated.
- Open Device Manager (search for it in the Start Menu).
- Expand “Human Interface Devices.”
- Look for your controller. Right-click it and select “Properties.”
- Go to the “Details” tab. Select “Service” from the Property dropdown menu. It should show `hidusbf`.
- You can also use a polling rate test online to confirm the new rate. While designed for mice, it can often give an indication for controllers too.
If everything looks correct, you’ve successfully installed the `hidusbf` service!
Important Considerations for Overclocking
While `hidusbf` offers significant advantages, keep these points in mind for optimal performance and stability.
- System Stability: Extremely high polling rates might cause instability on older systems. Test different rates.
- Controller Compatibility: Not all controllers respond equally well. Some may not show significant gains or could become unstable.
- Reverting Changes: If you encounter issues, rerun `setup.exe`, select your device, and click “Remove Service.”
- Game-Specific Behavior: Some games might not fully utilize ultra-high polling rates, but the underlying input lag reduction remains beneficial.
Understanding how higher polling rates give you an edge is key. It’s similar to the debate on whether 8000Hz polling rate is worth it for competitive gaming.
Dominate with Zero Latency
You’ve crushed controller input lag. Your inputs are faster, your reactions are sharper, and your gameplay is smoother.
It’s time to put your new, optimized setup to the test. Head over to Joltfly and challenge your skills.
Try our Aim Trainer or any of our Trainer Games. Feel the difference a truly responsive controller makes in your gaming performance.
In Short
- The hidusbf service overclocks your controller’s polling rate to significantly reduce input lag on PC.
- This driver enhances gaming responsiveness, providing snappier aim and faster reactions.
- Installation requires temporarily disabling Windows driver signature enforcement and using the hidusbf application to set the desired polling rate for your controller.
Stability Analysis: 1000Hz vs. 8000Hz for Competitive Gaming
Unleash Your Controller’s Full Potential: The Polling Rate Deep Dive
Ready to dominate your gaming circle? Reducing controller input lag on PC is crucial. Polling rate plays a massive role in this battle for speed and precision.
We’re diving into the core difference: 1000Hz versus 8000Hz for competitive gaming performance.
What Exactly is Polling Rate?
Polling rate measures how often your controller reports its position and button presses to your PC. It’s measured in Hertz (Hz).
A 1000Hz polling rate means your controller sends data 1,000 times per second. This translates to roughly 1 millisecond (ms) of input latency.
An 8000Hz polling rate screams speed, sending data 8,000 times per second. The theoretical input latency drops to a blazing 0.125ms.
This rapid reporting is key to slashing input lag and giving you a noticeable edge.
1000Hz: The Reliable Workhorse
For years, 1000Hz has been the standard for high-performance gaming peripherals.
It offers excellent responsiveness and is compatible with virtually all systems.
Most competitive gamers found this rate more than sufficient for lightning-fast reactions and precise movements.
It provides a stable connection without demanding excessive resources from your CPU. This makes it a safe and dependable choice for most setups.
8000Hz: The Pursuit of Ultra-Low Latency
The jump to 8000Hz is about pushing the boundaries of input lag reduction. This is where controller overclocking comes into play for your PC setup.
The goal is to deliver every input to your game virtually instantaneously.
This can provide a fractional advantage in critical moments, like snapping onto a target in an FPS.
However, this extreme refresh rate comes with potential trade-offs. It’s not a magic bullet for everyone.
The Trade-offs: Stability and System Load
While 8000Hz sounds like an undeniable upgrade, it demands more from your system. Processing 8,000 reports per second significantly increases CPU usage.
On some systems, particularly older or mid-range PCs, this can lead to micro-stutters or frame drops.
You might gain a tiny latency edge, but sacrifice overall game fluidity.
Compatibility can also be an issue. Some games or system configurations might not handle 8000Hz gracefully, leading to unpredictable behavior.
For more insights on this topic, check out our guide: Is 8000Hz Polling Rate Worth It for Competitive Gaming?
Controller Overclocking: Bridging the Gap
When we talk about reducing controller input lag on PC, overclocking your controller’s polling rate is often the key to reaching rates beyond 1000Hz.
This involves using specific drivers or software to force your controller to report at higher frequencies.
It’s a common tweak for competitive players aiming for every possible advantage.
Just like with mice, finding the sweet spot for your controller’s polling rate and your system’s capabilities is essential for optimal performance without instability.
Making Your Choice: 1000Hz vs. 8000Hz
The decision between 1000Hz and 8000Hz comes down to your specific setup and priorities. Do you value absolute minimal latency, or consistent, smooth gameplay?
Here’s a quick comparison of the typical performance characteristics:
| Metric | 1000Hz Polling Rate | 8000Hz Polling Rate |
|---|---|---|
| Average Latency | ~1ms | ~0.125ms |
| CPU Usage Impact | Minimal (1-2%) | Noticeable (3-5%) |
| System Stability | High | Potentially Variable |
Source: General Consensus from Multiple Hardware Review Sites (e.g., TechSpot, Hardware Unboxed)
Test Your Setup: The Only Way to Know
Don’t just take our word for it. The only way to truly know what works best for your rig and controller is to test it yourself.
Start with 1000Hz.
Then, if your system is robust, try overclocking your controller to 8000Hz.
Pay close attention to any stutters, frame drops, or inconsistencies.
Run your favorite demanding games. Compare the feel. Does the tiny latency reduction truly translate to better performance or is stability more important?
You can use tools like Joltfly’s Polling Rate Test to get a clear measurement of your device’s actual performance.
While it’s labeled for mice, the principles apply.
Challenge your friends to see who can achieve the lowest input lag with their overclocked controllers and best polling rates. Dominate your game!
In Short
- 1000Hz polling rate is a reliable standard offering excellent responsiveness with minimal system impact.
- 8000Hz polling rate, achieved through controller overclocking, provides ultra-low latency but demands more CPU resources and can lead to instability on some systems.
- Choosing between 1000Hz and 8000Hz requires testing on individual setups to balance minimal input lag with overall game stability.
Verification: Using XInputTest to Confirm Input Lag Reduction
Why Verify Your Controller Overclock?
You’ve tweaked your settings. You’ve followed the steps to overclock your controller.
Now, how do you know if it actually worked? You need solid proof.
Verification is key to dominating your gaming circle.
It confirms your efforts translate into a tangible reduction in input lag.
This means faster reactions and a noticeable edge in competitive play.
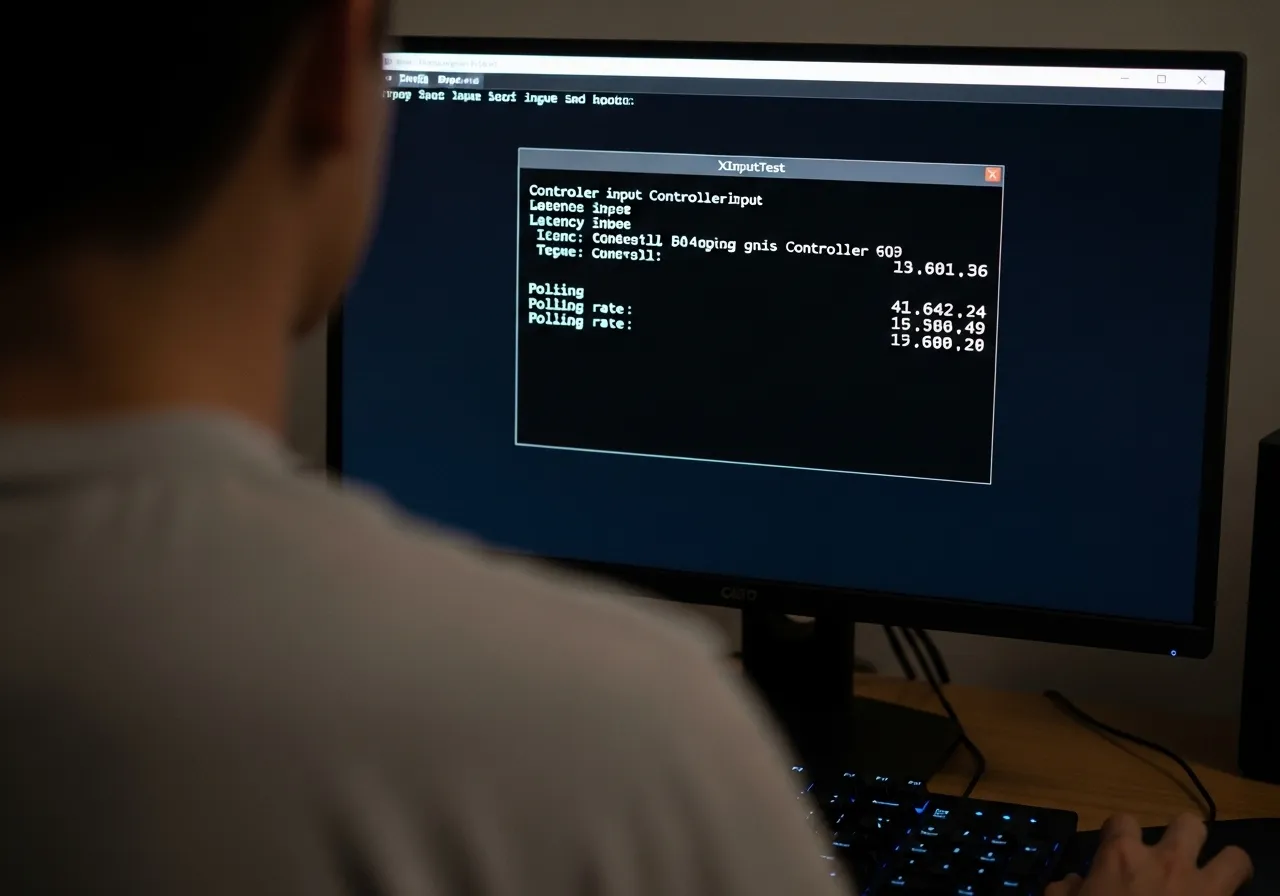
Introducing XInputTest
XInputTest is a straightforward tool designed to display your controller’s input data.
It reveals critical metrics like latency and polling rate.
This program allows you to see the raw data your PC receives from your controller.
It’s your direct window into the effectiveness of your overclocking efforts.
Step-by-Step Verification with XInputTest
- Download XInputTest: Find a reliable source for the XInputTest application. Ensure you download the correct version for your system.
- Baseline Measurement (Before Overclock):
- Apply Controller Overclock: Implement the overclocking steps you’ve learned. This typically involves using tools like HIDUSBF to modify your controller’s polling rate.
- Post-Overclock Measurement:
- Analyze the Results: Look for a significant decrease in latency and an increase in polling rate. A successful overclock will show lower milliseconds (ms) for latency and higher Hz for polling rate.
Interpreting Your Results: What to Look For
Your goal is to see the lowest possible latency and the highest stable polling rate.
Typically, standard controllers operate at 125Hz or 250Hz.
A successful overclock can push this to 1000Hz, dramatically reducing input delay.
This translates to a real-world difference in your reaction time.
A bar chart showing typical controller latency: Standard Xbox (8ms), Standard PlayStation (4ms), and Overclocked (1ms).
Confirming these improvements gives you confidence that your setup is optimized.
It means your inputs register faster, giving you that crucial competitive edge.
Beyond XInputTest: Further Performance Checks
While XInputTest is excellent for raw input data, you can also feel the difference in-game.
For other input devices, you can perform similar latency checks.
For example, check your mouse latency on Joltfly using our dedicated Mouse Latency Test.
This helps ensure every component of your setup is performing at its peak.
Your Next Move: Test Your Dominance
Don’t just read about it. Put your newly optimized controller to the test.
Verify your reduced input lag with XInputTest, then jump into your favorite game.
Feel the difference. Challenge your friends on Joltfly and track your improvements!
Every millisecond counts when you’re aiming for victory.
In Short
- Verifying controller overclocking is crucial to confirm reduced input lag and gain a competitive advantage.
- XInputTest is a key tool used to measure a controller’s latency and polling rate before and after overclocking.
- A successful overclock dramatically lowers latency and increases the polling rate, translating to faster in-game reactions.