Is your precision aim suffering from random micro-twitches? Hall Effect jitter is a frustrating glitch that can ruin your competitive edge instantly.
Don’t panic, fix it with proper calibration and hardware tweaks.
We will guide you through the exact steps to smooth out your gameplay on Joltfly.
Key Takeaways
- Diagnose sensor issues by distinguishing between static jitter and outer ring circularity errors.
- Perform software calibration via Windows, SteamOS, or manufacturer firmware to reset sensor baselines.
- Eliminate magnetic interference by shielding cables and moving EMI sources like speakers or routers.
- Fine-tune deadzones to mask minor sensor noise while maintaining raw input responsiveness.
- Test your optimized setup using Joltfly’s tools to ensure your aim is stable and tournament-ready.
Diagnosing Hall Effect Jitter vs. Outer Ring Circularity Errors
Understanding the Core Issues: Jitter vs. Circularity
As a competitive gamer, every input matters. Your Hall Effect controller promises superior precision and longevity, but sometimes issues arise.
Two common culprits can throw off your aim: Hall Effect jitter and outer ring circularity errors. Knowing the difference is key to fixing them.
What is Hall Effect Jitter?
Hall Effect jitter manifests as tiny, erratic movements of your joystick input. This happens even when the stick is completely still.
It feels like your character is subtly twitching or your aim is shivering. This often stems from magnetic sensor interference or calibration inconsistencies.

Unpacking Outer Ring Circularity Errors
Circularity errors occur when your joystick fails to track a perfect circle. This happens when the stick is pushed to its maximum deflection in all directions.
This means your controller’s sensitivity can be uneven. It leads to inconsistent aiming and movement, especially during diagonal inputs.
How to Differentiate the Problems
Diagnosing these issues requires systematic testing. You need to observe your stick’s behavior both at rest and at its full range of motion.
A visualizer tool is your best friend here. It displays your controller’s raw input data, making any anomalies obvious.
Testing for Jitter: The Static Drift Check
To check for jitter, simply leave your controller’s joystick untouched. Open an online controller tester or Joltfly’s Device Tests.
Watch the input dot on the screen. If it is constantly flickering or drifting slightly, even by a tiny amount, you are dealing with jitter.
Testing for Circularity: The Full Rotation Scan
For circularity, slowly rotate your joystick in a full circle. Keep it pressed against the outer edge of its housing.
Observe the path traced by the input dot. If the trace isn’t a smooth, uniform circle, you likely have a circularity error.
Here’s a quick reference to distinguish between these two frustrating issues:
| Issue Type | Primary Symptom | When It Occurs |
|---|---|---|
| Hall Effect Jitter | Erratic, small movements | Joystick at rest (in deadzone) |
| Circularity Error | Uneven or distorted full range input | Joystick at full deflection/rotation |
The Impact on Your Gameplay
Both jitter and circularity errors can severely degrade your performance. Jitter leads to accidental inputs and makes holding a steady aim impossible.
Circularity errors cripple your ability to execute precise movements. This is crucial in games requiring quick diagonal strafes or 360-degree aiming.
These issues hinder your raw input and make your skills inconsistent. Understanding the difference is the first step to reclaiming your edge.
Hall Effect Controllers: The Solution to Stick Drift
Traditional potentiometer joysticks are notoriously prone to stick drift over time. This wear and tear is a common pain point for gamers.
A 2020 consumer survey by Which? in the UK found that 40% of Nintendo Switch owners reported drift issues.
Hall Effect joysticks eliminate this mechanical wear.
A pie chart showing the prevalence of stick drift in traditional controllers (example: Nintendo Switch). 40% experienced stick drift, while 60% did not.
Hall Effect technology uses magnets and sensors, meaning no physical contact occurs. This drastically reduces degradation and the likelihood of stick drift.
This innovation is why many competitive gamers are upgrading. Learn more about the tech in our article on Hall Effect Joystick vs Potentiometer.
Take Action: Eliminate Controller Flaws
Don’t let controller issues hold you back. Use Joltfly’s Device Tests to pinpoint if you’re battling jitter or circularity errors.
Once you identify the problem, focus on calibration or firmware updates. You can also use hardware solutions to get back to dominating your gaming circle.
In Short
- Hall Effect jitter causes erratic joystick movements when at rest, while outer ring circularity errors result in uneven input when the joystick is moved to its full range.
- Jitter is diagnosed by observing static drift, and circularity errors by checking the input path during a full joystick rotation, ideally using a visualizer tool.
- While these issues can affect performance, Hall Effect controllers prevent traditional stick drift common in potentiometer-based joysticks by using magnetic sensors instead of physical contact.
Software Calibration Guide: Windows, SteamOS, and Firmware Updates
Master Your Hall Effect Controller Settings
Your Hall Effect controller offers next-level precision, but it is not “set and forget.” Software calibration is crucial to unlock its full potential.
Ignoring calibration can lead to frustrating input jitter. It also causes inconsistent aiming and a lack of responsiveness.
This guide will walk you through optimizing your controller on Windows and SteamOS. We also cover firmware updates to ensure you dominate every match.
Windows Calibration: Precision Tuning
Windows provides built-in tools to calibrate your controllers. These are essential for eliminating any potential jitter.
This initial setup helps Windows correctly interpret your Hall Effect joystick inputs.
Here is how to get started:
- Open the “Run” dialog (Windows key + R).
- Type “joy.cpl” and press Enter to open Game Controllers.
- Select your Hall Effect controller and click “Properties.”
- Navigate to the “Settings” tab and click “Calibrate.”
- Follow the on-screen prompts, moving your joysticks through their full range of motion.
For even finer control, use third-party software from your controller manufacturer. These apps often offer advanced calibration options.
These tools provide granular dead zone adjustments and response curve customization. Both are vital for competitive play.
SteamOS & Steam Input: Optimize Your Deck
Steam Input is a powerful tool for customizing any controller. It is especially useful for Hall Effect models across Windows, Linux, and SteamOS.
Steam Deck users, pay close attention to these settings to eradicate jitter.
To calibrate within Steam:
- Connect your controller and open Steam in Big Picture Mode.
- Go to “Settings” then “Controller Settings.”
- Select your controller and choose “Calibrate.”
- Follow the on-screen instructions for stick and trigger calibration.
You can also create custom controller profiles for individual games. This allows you to fine-tune dead zones and anti-dead zones for specific titles.
Experiment with response curves to find the most precise control. Learn more about optimizing controller response curve settings for a competitive edge.
Firmware Updates: The Foundation of Stability
Do not underestimate the power of a simple firmware update. Manufacturers release updates to fix bugs, improve sensor accuracy, and enhance performance.
These updates are often critical for addressing known jitter issues in Hall Effect controllers.
Always check your controller manufacturer’s official website for the latest firmware versions and update instructions.
The process usually involves downloading a utility and connecting your controller. Just follow the simple steps provided by the software.
Keeping your firmware current ensures your hardware performs as intended. It gives you a stable platform for your in-game dominance.
Fine-Tuning for Peak Performance
Beyond basic calibration, delve into advanced settings. Adjust dead zones and response curves to eliminate subtle jitters and boost precision.
Many competitive players find that reducing input lag also contributes to a smoother experience. Read how to reduce controller input lag to gain an advantage.
Calibrating these settings meticulously can significantly improve your aim and reaction time.
The gaming community consistently values customization in their gear, reflecting its impact on performance.
A bar chart showing gamer preference for controller customization features: Adjustable Dead Zones (85%), Custom Button Mapping (78%), Response Curve Settings (70%), Firmware Updates (62%), and Haptic Feedback Control (55%).
After applying these calibration steps, head over to Joltfly’s Device Tests.
Challenge your friends to see who can achieve the most stable and precise controller inputs.
Eliminate jitter and secure your spot at the top!
In Short
- Software calibration is crucial for Hall Effect controllers to prevent input jitter, ensure responsiveness, and unlock full precision.
- Calibration can be performed using Windows built-in tools, Steam Input for SteamOS/Linux, and by installing manufacturer firmware updates.
- Fine-tuning advanced settings like dead zones, anti-dead zones, and response curves further optimizes controller performance and eliminates subtle jitters.
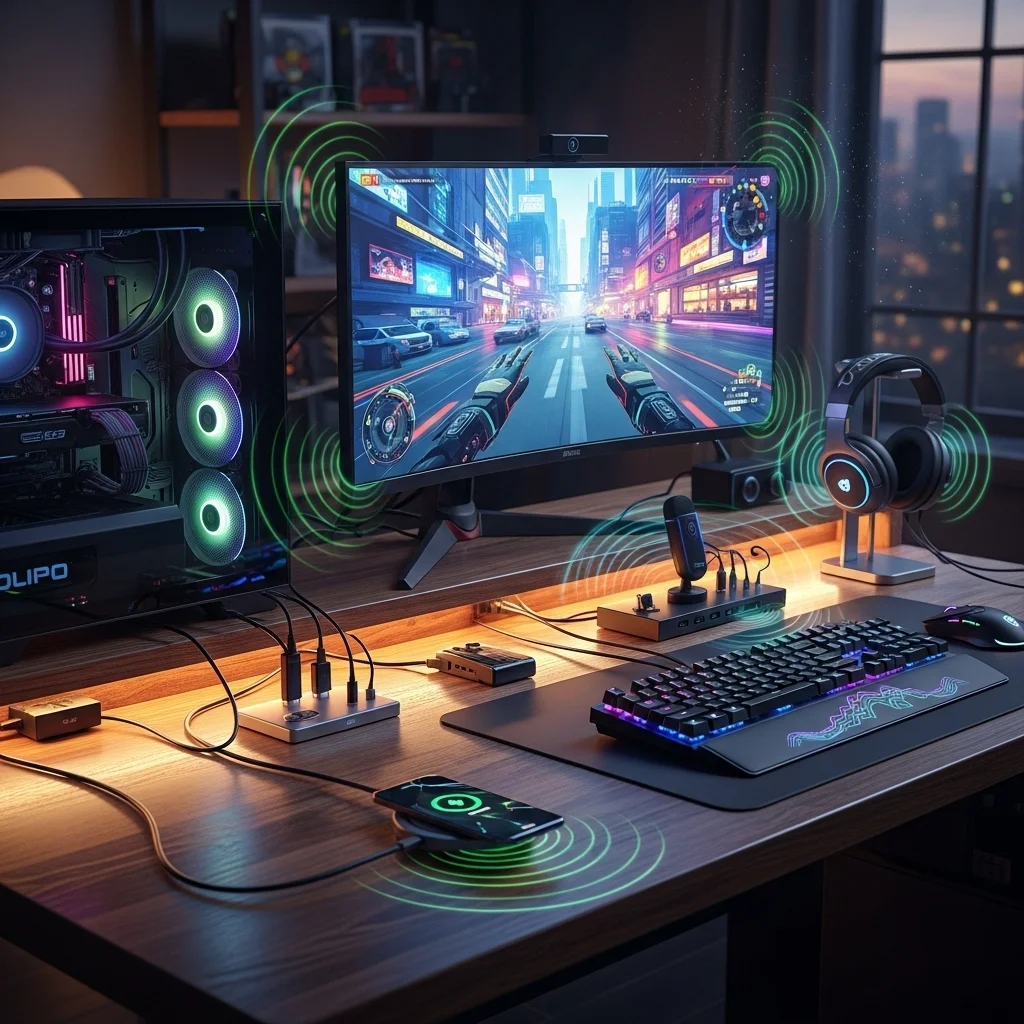
Advanced Hardware Troubleshooting: Magnetic Interference and Cabling
Unmasking Hall Effect Jitter: The Silent Threat to Precision
Hall Effect controllers offer superior durability and eliminate stick drift, a major win for competitive gamers.
However, even these advanced sensors can suffer from “jitter” or inconsistent input.
This subtle instability can ruin your aim and make precise movements nearly impossible.
It’s time to troubleshoot like a pro and dominate your gaming circle.
Magnetic Interference: Your Hidden Enemy
Hall Effect sensors operate on magnetic fields. This makes them incredibly precise but also vulnerable to external electromagnetic interference (EMI).
Your gaming setup is a battlefield of electromagnetic signals. Many devices around you emit fields that can disrupt your controller’s readings.
Understanding these sources is the first step to a jitter-free experience.
Common Sources of EMI in Your Gaming Environment
Identify and mitigate these common culprits for magnetic interference:
- Unshielded Power Cables: Power cables, especially those without proper shielding, can emit significant EMI. Keep them away from your controller’s path.
- Speakers and Subwoofers: Powerful magnets inside speakers, particularly subwoofers, are major EMI sources. Position them far from your controller.
- Mobile Phones and Wi-Fi Routers: Your phone’s cellular and Wi-Fi signals can interfere, as can your router’s wireless emissions. Create some distance.
- Large Power Adapters (Bricks): These often contain transformers that generate magnetic fields. Isolate them from your play area.
- Other Active Electronics: Any device with a motor, transformer, or strong electrical current can be a source. Think external hard drives or charging docks.
A bar chart showing the potential impact of common EMI sources on controller signal quality: Unshielded Power Cables (75%), Speakers/Subwoofers (60%), Mobile Phones (in proximity) (45%), Large Power Adapters (40%), Other Active Electronics (30%).
Optimizing Your Cabling for Jitter-Free Performance
Poor cable management isn’t just an aesthetic issue, it’s a performance killer.
Your controller’s connection is vital. Even high-quality Hall Effect sensors need a clean signal path.
Consider these cabling strategies to reduce jitter and improve reliability.
Shielded Cables and Ferrite Cores
Invest in high-quality, shielded USB cables for your controller.
Shielding acts as a barrier against external EMI, protecting the signal within the cable.
Ferrite cores are those small cylindrical bumps on some cables. They work to further absorb high-frequency noise.
Adding a ferrite bead to your existing controller cable can be a cheap, effective fix.
Smart Cable Routing
How you route your cables matters immensely. Avoid creating a tangled mess near your controller.
Keep your controller’s USB cable separate from power cables and audio wires.
Running them parallel can induce interference. Cross them at 90-degree angles when necessary to minimize crosstalk.
Use cable ties to manage bundles, but ensure no essential cables are pinched or overly strained.
USB Port and Hub Selection
Not all USB ports are created equal. Connect your controller directly to a motherboard USB port, preferably USB 3.0 or higher.
Avoid cheap, unpowered USB hubs. These can introduce additional input lag and noise.
If a hub is necessary, opt for a high-quality, externally powered model that can maintain signal integrity.
Remember that the quality of the connection directly impacts the sensor’s reported data.
Test Your Setup: Verify Your Fixes on Joltfly
Once you’ve optimized your environment and cabling, it’s time to see the difference.
Joltfly offers powerful tools to test your controller’s responsiveness and precision.
Regularly check your controller’s input stability after making adjustments.
Head over to Joltfly’s Device Tests section and put your optimized setup to the ultimate challenge.
Dominate the competition with unparalleled control!
Solving Interference from Impulse Triggers and Rumble Motors
The Jitter Threat from Controller Feedback
Impulse triggers and rumble motors offer immersive feedback. However, for Hall Effect controllers, this physical vibration can become your enemy.
Intense vibrations can introduce micro-movements. Hall Effect sensors, designed for extreme precision, can pick up this electromagnetic interference.
The result is unwanted jitter and inconsistent input. This directly impacts your competitive edge and makes your controller feel less responsive.
Isolate Your Sensors from Unwanted Vibration
Combating jitter often starts with minimizing physical interference. Check your controller’s build quality.
Ensure all internal components are secure. Loose parts can amplify vibrations, exacerbating sensor jitter.
Some pro gamers consider DIY trigger stop mods to reduce physical travel and potential vibration points.
Advanced Software Solutions and Calibration
Your controller’s software is a powerful tool against jitter. Dive into your controller’s settings or console’s accessory options.
Implement a small deadzone on affected axes. This creates a buffer zone, ignoring minor, unwanted inputs caused by jitter.
Regularly update your controller’s firmware. Manufacturers often release updates that improve sensor stability and mitigate interference issues.
Consider fine-tuning your response curves. This can help smooth out erratic inputs without sacrificing responsiveness.
Troubleshooting Steps to Eliminate Jitter
- Check Controller Housing: Firmly press around the triggers and rumble areas. Listen for any creaking or looseness.
- Apply Deadzones: Access your controller’s utility software or in-game settings to add a small input deadzone.
- Update Firmware/Drivers: Visit the manufacturer’s website for the latest firmware and PC drivers.
- Test with Rumble Off: Temporarily disable rumble in-game or via controller settings to isolate the issue.
- Inspect Internal Components: If comfortable, carefully open your controller to check for loose wires near Hall Effect sensors.
- Adjust Trigger Sensitivity: Lowering sensitivity for impulse triggers might reduce their vibration intensity.
The Nuclear Option: Disabling Haptics
If extensive troubleshooting fails to resolve the jitter, disabling impulse triggers and rumble motors entirely might be your ultimate solution.
While this sacrifices immersion, many competitive gamers prioritize consistent, jitter-free input above all else.
This ensures your Hall Effect sensors are operating in the cleanest possible environment, giving you precise control.
By eliminating this interference, you gain a tangible advantage. This allows for more accurate inputs and faster reactions.
If you are serious about your game, consider controller thumbstick tension mods too, for even greater precision.
Test Your Precision on Joltfly
After applying these fixes, test your controller’s newfound precision. Head over to Joltfly’s Mouse Drift Test.
You can use a controller joystick on this test to get an informal sense of drift or jitter. Push yourself to see the real improvements.
Challenge your gaming circle to see who can achieve the most stable input. Dominate the scoreboard with your optimized setup!
Masking Sensor Noise with Optimal Deadzone Settings
Eliminate Jitter: Fine-Tuning Your Hall Effect Controller
Hall Effect controllers bring a new level of precision, virtually eliminating stick drift. However, even advanced technology is not immune to noise.
Minor sensor noise can sometimes lead to unwanted micro-movements, commonly known as jitter.
This is where optimal deadzone settings become your secret weapon. A deadzone defines an area where small stick movements are ignored.
Why Deadzones Still Matter for Hall Effect Joysticks
While Hall Effect sensors are incredibly accurate, no sensor is perfectly silent. Environmental factors or internal electronics can cause small fluctuations.
These tiny signals, though not true stick drift, can manifest as jitter. A carefully set deadzone acts as a digital filter, masking this sensor noise.
By doing so, you ensure that only your intentional, larger movements translate into in-game actions.
A bar chart showing top controller issues reported by gamers: Stick drift (46%), battery life (41%), and button malfunctions (38%).
A recent survey by Statista indicated that 46% of gamers consider stick drift a significant issue. Hall Effect technology addresses this head-on.
However, managing residual jitter is the next step to perfection.
Finding Your Optimal Deadzone: A Step-by-Step Guide
Setting the right deadzone is crucial. Too small, and you’ll experience jitter. Too large, and you sacrifice responsiveness.
Follow these steps to dial in your settings:
- Start Low: Begin with the smallest possible deadzone in your game or controller software.
- Observe Jitter: Slowly increase the deadzone until any visible or felt jitter in your character’s movement or camera stops completely.
- Test Responsiveness: Once jitter is gone, perform subtle, precise movements. Ensure your input feels immediate and accurate.
- Iterate and Refine: Play a few rounds. If you still notice slight, unintended movements, increase the deadzone by tiny increments. If precision feels hindered, reduce it slightly.
Remember that different games or specific response curves may need tweaks. Check settings like linear vs. exponential for the optimal feel.
Third-Party Software and Controller Calibration Tools
Many Hall Effect controllers come with dedicated software for advanced customization. These tools often provide visualizers that show input in real-time.
Use these to pinpoint the exact point where jitter ceases. This allows for a hyper-precise deadzone setting that gives you a competitive edge.
Dominate Your Gameplay
Mastering your deadzone settings is a critical part of the hall effect controller calibration. It turns potential noise into buttery-smooth input.
Ready to put your newly calibrated controller to the test? Head over to Joltfly’s Aim Trainer and challenge your gaming circle to see who has the best control.
In Short
- Hall Effect controllers are precise but vulnerable to jitter caused by external electromagnetic interference (EMI).
- Common EMI sources include unshielded power cables, speakers, mobile phones, and large power adapters, which should be identified and mitigated.
- To reduce jitter, use shielded USB cables with ferrite cores, optimize cable routing, and connect controllers to high-quality USB ports or powered hubs.
Master Your Precision
Stop letting jitter ruin your K/D ratio! You now have the tools to fix your aim and stabilize your controller.
Calibration is the secret weapon for consistent performance. Take a few minutes to tune your sticks and feel the difference immediately.
Get back in the game and dominate your gaming circle.
Your hardware is ready. Are you?
Frequently Asked Questions
Why do my Hall Effect sticks jitter?
It is rarely drift! High sensitivity sensors read micro-movements. Recalibration usually centers them perfectly.
Do I need specific software to fix this?
Often, yes. Use tools like Gamepad Tester or your console’s accessory app to visualize and correct the deadzones.
Can dirt cause Hall Effect jitter?
It is unlikely. These sensors use magnets, so physical dirt matters less. Check for magnetic interference near your controller.
How often should I calibrate?
Recalibrate whenever your aim feels ‘floaty’ or after a firmware update. Keep your gear sharp to stay competitive.